This article describes how to use our Check In service.
Using Check In
First of all, login to your Greet.TV dashboard.
Before you can use Check In, atleast one visitor is necessary. To add a visitor, follow this guide.
Once a visitor is added, and today’s date is between the visitor Start date and End date it will be visible on the Check In.
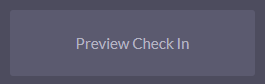
You can preview the Check In by clicking the “Preview Check In“-button.
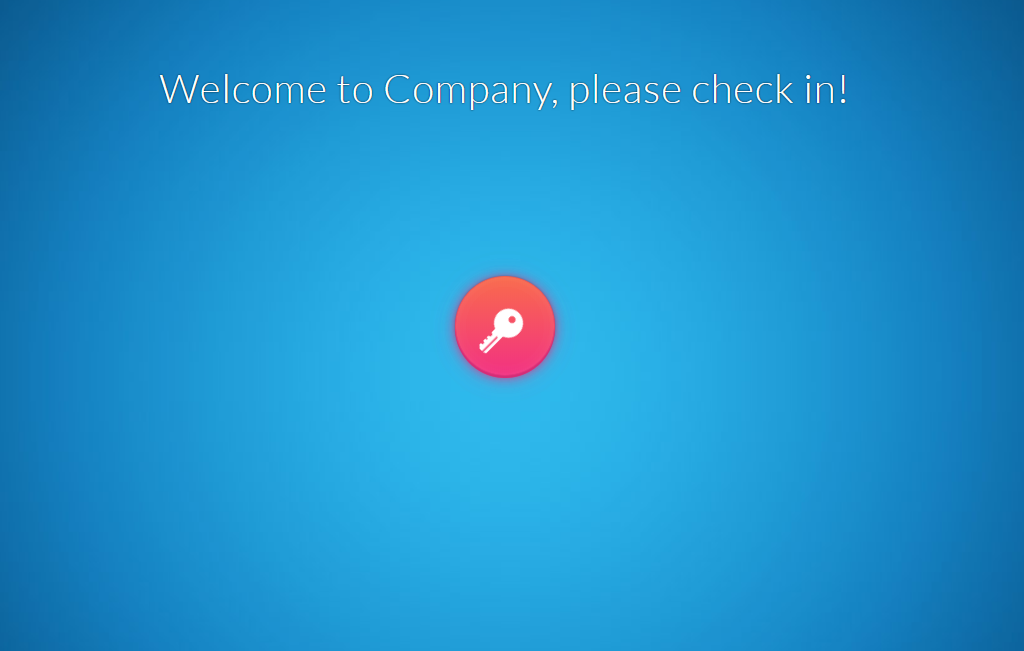
Preview Check In will show you exactly the same content as using our apps.
Clicking/touching the Key-button will take you to a search field.
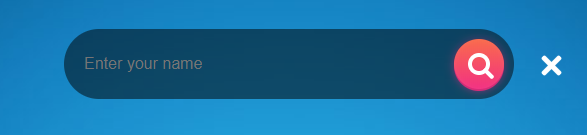
Start typing a first/last name or a company, and this will automatically search through your visitors.
Search field

Example result
If you want to check in you press the “+“-symbol which takes you to the confirmation dialog (shown below)
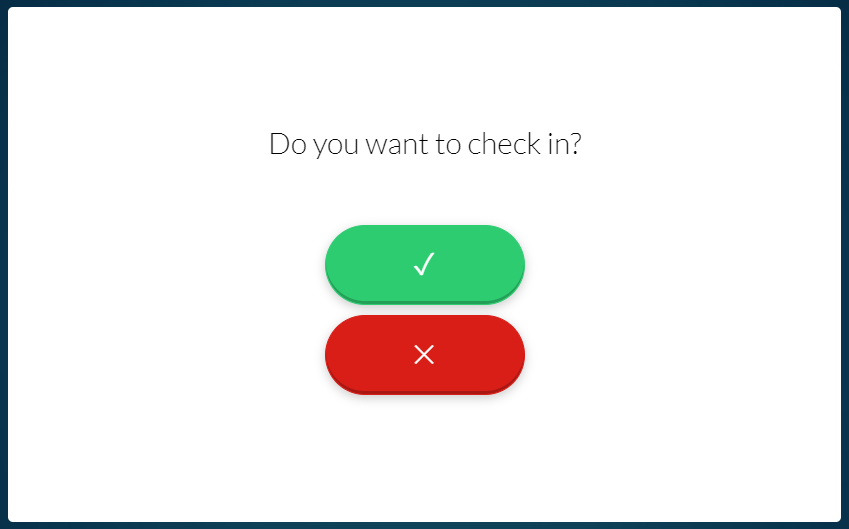
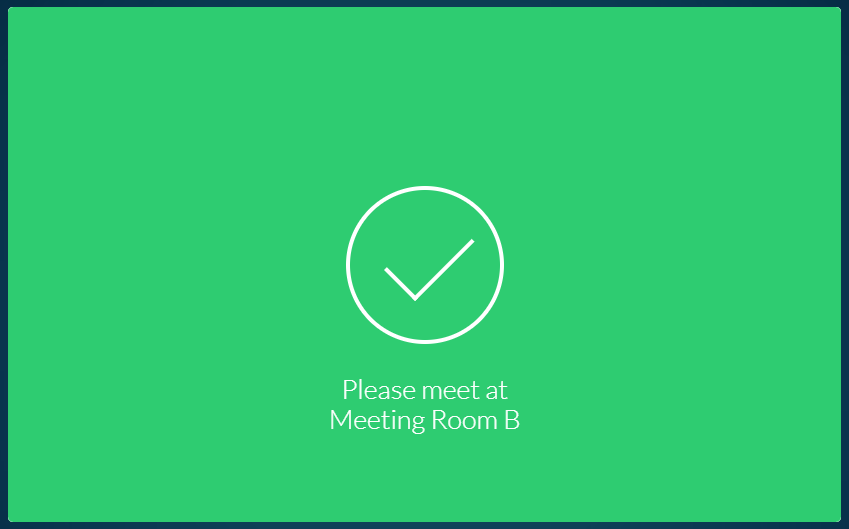
Pressing Yes will check in the visitor and send an email with a notification that the visitor has arrived. The email is delivered to the user which added the visitor.
Once the Visitor is checked in it will not show up on the Check In search again. If you wish to allow the Visitor to check in multiple times, i.e. not removing the Visitor from the Search-results after a successful check-in you can disable this in the Customization, explained here.
Download Apps
Thank you for reading.